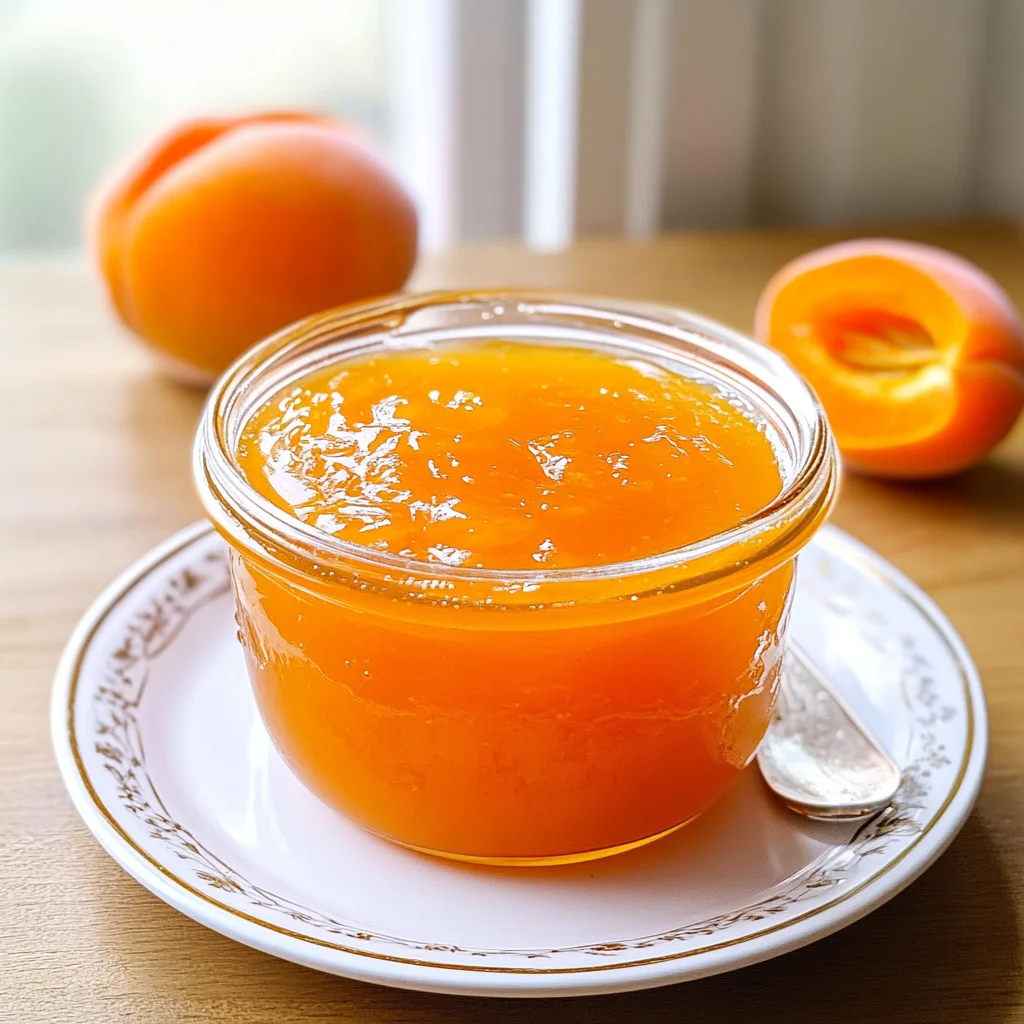
Apricot jam, the very words conjure up images of sun-drenched orchards, the sweet scent of ripe apricots, and the satisfying spread of golden goodness on a warm piece of toast. This isn’t just any apricot jam recipe; it’s a journey into the heart of summer, captured in a jar. We’ll guide you through each step, from selecting the perfect apricots to achieving that perfect balance of sweetness and tartness. Whether you’re a seasoned jam-maker or a complete beginner, this recipe is designed to be accessible and rewarding. Prepare to be amazed by the vibrant color and exquisite taste of homemade apricot jam – a treat that’s far superior to anything you’ll find in the store. This recipe allows you to harness the natural sweetness of ripe apricots, creating a jam that’s both delicious and naturally beautiful. Let’s dive in and transform those juicy apricots into a culinary masterpiece.
Why You’ll Love This Apricot Jam Recipe
This apricot jam recipe is more than just a collection of ingredients and instructions; it’s an experience. Imagine the aroma filling your kitchen as the apricots simmer, their fragrance mingling with the subtle sweetness of sugar. The satisfaction of creating something delicious and beautiful with your own hands is unparalleled. But beyond the sensory delight, there are several reasons why this recipe will quickly become a favorite:
- Simplicity: The process is straightforward, even for beginners. We’ve broken down each step with clear instructions and helpful tips.
- Versatility: This apricot jam is incredibly versatile. Spread it on toast, biscuits, or scones. Use it as a filling for pastries, cakes, or even yogurt parfaits. The possibilities are endless!
- Delicious Taste: The combination of ripe apricots and just the right amount of sugar creates a jam that’s both sweet and tangy, perfectly balanced and bursting with flavor.
- Healthier Option: Compared to store-bought jams, this homemade version often contains less added sugar and preservatives, making it a healthier choice for you and your family.
- Cost-Effective: Making your own jam is often cheaper than buying it pre-made, especially if you source your apricots from a local farmers market.
- Gifting Potential: Homemade apricot jam makes a thoughtful and delicious gift for friends and family. Present it in pretty jars, adding a personal touch.
Why You Should Try This Apricot Jam Recipe
In a world of mass-produced foods, there’s something truly special about making something from scratch. This apricot jam recipe is an opportunity to reconnect with the food you eat, understanding its origins and appreciating the simple process of transforming fresh ingredients into something delectable. Here’s why you should give this recipe a try:
- Control over Ingredients: You get to choose the quality of your apricots and the amount of sugar, ensuring a jam that meets your exact preferences.
- Freshness: Homemade jam tastes significantly better than store-bought varieties, bursting with the fresh flavor of ripe fruit.
- Customization: Feel free to experiment with different spices or add-ins, such as lemon zest or ginger, to create your own unique signature jam.
- Preserving Summer’s Bounty: If you have an abundance of apricots, this is the perfect way to preserve their flavor and enjoy them long after the season ends.
- A Rewarding Experience: The process of making jam is incredibly satisfying. You’ll feel a sense of accomplishment and pride in creating something delicious from scratch.
- Perfect for Beginners: Even if you’ve never made jam before, this recipe is easy to follow and will guide you every step of the way.
Ingredients and Necessary Utensils for Apricot Jam
Ingredients:
- 2 kg ripe apricots, pitted and halved (choose apricots that are slightly soft but not overly bruised)
- 1.5 kg granulated sugar (adjust to your preference for sweetness – you can use less for a more tart jam)
- 100ml lemon juice (freshly squeezed is best, it helps set the jam and adds brightness)
- Optional: 1 teaspoon vanilla extract (for added depth of flavour)
- Optional: 1/2 teaspoon ground cinnamon (for a warm, spiced jam)
- Optional: Pinch of salt (enhances the sweetness and flavor)
Utensils:
- Large, heavy-bottomed saucepan (important for even cooking and preventing burning)
- Wooden spoon or spatula (for stirring)
- Measuring cups and spoons
- Fine-mesh sieve or food mill (for removing seeds and skins if desired for a smoother jam)
- Sterilized jars and lids (essential for safe storage – you can sterilize jars and lids in boiling water)
- Jar lifter (optional but helpful for handling hot jars)
- Sugar thermometer (highly recommended for accurate jam-making)
- Small bowls for measuring ingredients
- Apron to protect your clothes
Detailed Recipe Steps for Making Apricot Jam
Step 1: Preparing the Apricots: Wash the apricots thoroughly and halve them. Remove the pits carefully. If you prefer a smoother jam, you can optionally puree the apricots using a food mill or blender after this step.
Step 2: Combining Ingredients: In your large saucepan, combine the prepared apricots, sugar, lemon juice, vanilla extract (if using), cinnamon (if using), and salt (if using). Gently stir to combine.
Step 3: Simmering the Jam: Place the saucepan over medium heat. Bring the mixture to a gentle simmer, stirring occasionally to prevent sticking. Once simmering, reduce the heat to low and continue to stir regularly. This helps to prevent burning and ensures even cooking.
Step 4: Checking for Setting Point: Use a sugar thermometer to monitor the temperature. The jam is ready when it reaches the setting point, typically between 104-105°C (219-221°F). This is crucial for a properly set jam that won’t spoil easily.
Step 5: Testing the Set: If you don’t have a thermometer, you can perform the wrinkle test. Place a small spoonful of jam on a chilled plate. Let it cool for a few minutes, then push the jam with your finger. If the surface wrinkles, it’s ready. Important: Avoid overcooking, as this can result in a tough jam.
Step 6: Filling the Jars: Carefully ladle the hot jam into your sterilized jars, leaving about half a centimeter of headspace. Wipe the rims clean and seal the lids tightly.
Step 7: Processing the Jars (Optional): For longer shelf life, you can process the jars in a boiling water bath for 10-15 minutes. This creates a vacuum seal, extending the shelf life of your jam.
Step 8: Cooling and Storing: Let the jars cool completely. You should hear a satisfying “pop” sound as the lids seal. Store in a cool, dark place for up to a year.
Tips and Variations for Your Apricot Jam
Ingredient Alternatives: Feel free to experiment! You can substitute some of the sugar with honey or maple syrup for a richer flavor. Adding a pinch of cardamom or star anise can also create a unique flavor profile. For a vegan apricot jam, simply omit the vanilla extract. For a gluten-free version, ensure all other ingredients are certified gluten-free. See more recipes for more inspiration!
Avoiding Common Mistakes: Don’t overcrowd the pan, as this can hinder even cooking. Stir regularly to prevent sticking and burning. Make sure your jars and lids are properly sterilized to prevent spoilage. Use a thermometer or perform the wrinkle test to ensure the jam reaches the proper setting point. Don’t reuse jars without proper sterilization.
Nutritional Values and Benefits of Apricot Jam
While apricot jam is a treat, it also offers some nutritional benefits. Apricots are rich in Vitamin A, Vitamin C, and fiber. Vitamin A is essential for eye health, while Vitamin C boosts the immune system. Fiber aids in digestion and helps regulate blood sugar levels. However, it’s important to remember that jam is high in sugar, so it should be consumed in moderation as part of a balanced diet. A typical serving of homemade apricot jam (approximately 1 tablespoon) might contain approximately 50-70 calories, depending on the amount of sugar used. The exact nutritional values can vary based on the specific ingredients and quantities used.
FAQ: Common Questions about Apricot Jam
Q: How long does homemade apricot jam last? A: Properly made and stored apricot jam can last for up to a year.
Q: What if my jam didn’t set? A: This usually happens if the jam hasn’t reached the proper setting point. You may need to simmer it for a little longer.
Q: Can I use frozen apricots? A: Yes, but make sure to thaw them completely before using them. You might need to adjust the cooking time slightly.
Q: Why is my jam too sweet? A: You might have added too much sugar. Try reducing the sugar amount next time.
Q: Why is my jam too tart? A: You might not have added enough sugar. Add more next time.
Q: What if my jam is moldy? A: Discard the jam immediately if it shows signs of mold. Improper sterilization or storage can lead to mold growth.
Conclusion: Enjoy Your Delicious Homemade Apricot Jam!
Making your own apricot jam is a rewarding experience that connects you to the simple pleasures of cooking and enjoying fresh, wholesome ingredients. This recipe provides a clear guide to making a delicious and perfectly set apricot jam, suitable for beginners and experienced jam-makers alike. Remember to adjust the sweetness to your preference and feel free to experiment with different flavor combinations. Share your experience in the comments below, and don’t forget to share this recipe with your friends and family! We encourage you to try this recipe and experience the joy of creating a sunshine-in-a-jar delicacy that will brighten up your breakfast table. For more exciting recipes and cooking inspiration, explore more recipes on our website. Learn more about the history of jam making by visiting Wikipedia’s page on confitures.

Sun-Kissed Apricot Jam
Equipment
- Large saucepan
- Wooden spoon
- Jar with lids
- Candy thermometer
Ingredients
Main Ingredients
- 4 cups Fresh Apricots Pitted and chopped
- 3 cups Granulated Sugar
- 1/4 cup Lemon Juice Freshly squeezed
- 1/4 cup Water
- 1 pinch Pinch of Salt
- 1/4 cup Optional: 1/4 cup Orange Liqueur Adds a lovely complexity
Instructions
Instructions
- Combine apricots, sugar, lemon juice, water, and salt in a large saucepan.
- Bring to a boil over medium-high heat, stirring occasionally to dissolve the sugar.
- Reduce heat to medium-low and simmer, stirring frequently, for about 20-25 minutes, or until the mixture thickens and reaches 220°F (104°C) on a candy thermometer.
- If using, stir in the orange liqueur during the last 5 minutes of cooking.
- Remove from heat and skim off any foam that has formed on the surface.
- Ladle the hot jam into sterilized jars, leaving about 1/4 inch of headspace. Wipe the rims clean, seal the jars, and process in a boiling water bath for 10 minutes.
- Let the jars cool completely. Check seals to ensure they are airtight.