Ingredients
Equipment
Method
Step 1: Combine the Wet Ingredients
- Thaw the container of whipped topping completely in the refrigerator before beginning. This ensures the best consistency for mixing.
- In a large mixing bowl, combine the entire container of thawed whipped topping and the dry instant pudding mix.
- Using an electric hand mixer set to medium speed, or a sturdy spoon, mix the two ingredients together until they are fully combined and the mixture is uniform in color. Scrape down the sides of the bowl as needed.
Step 2: Form the Candy Dough
- Measure out 3 cups of confectioners’ sugar and add it gradually to the whipped topping mixture. Mix slowly at first to prevent the sugar from flying out, then increase the speed or mixing effort.
- Continue mixing until the mixture transforms from a loose, fluffy consistency into a thick, firm dough. The mixture should be stiff enough that it pulls away from the sides of the bowl and can be handled easily without sticking excessively to your fingers.
- If the dough is still sticky after adding the initial 3 cups of sugar, add the remaining 1 cup, a little at a time, until the desired firm, workable consistency is achieved. The consistency must be very stiff before chilling.
Step 3: Shape and Coat the Candies
- Line a baking sheet with parchment paper. Place about ½ cup of extra confectioners’ sugar onto a small plate or shallow bowl for coating.
- Use a small cookie scoop or measuring spoon (about ½ teaspoon to 1 teaspoon size) to scoop out uniform portions of the candy dough. Roll each portion firmly between your palms to create smooth, round balls.
- Immediately roll the finished ball in the reserved confectioners’ sugar until it is fully coated. Place the finished candies onto the prepared baking sheet.
Step 4: Chill and Serve
- Once all the candies have been shaped and coated, place the baking sheet into the refrigerator. Chill the candies for a minimum of 4 hours, or preferably overnight, until they are firm and set. This step is essential for developing the characteristic 'candy' texture.
- Store the finished Cool Whip Candies in an airtight container in the refrigerator for up to 5 days. These candies can also be frozen for up to 3 months; thaw briefly before serving.
Notes
Pudding Mix Flavor: The flavor of the instant pudding mix is the dominant flavor of the final candy. Experiment with fun flavors like butterscotch, lemon, or banana cream for different results.
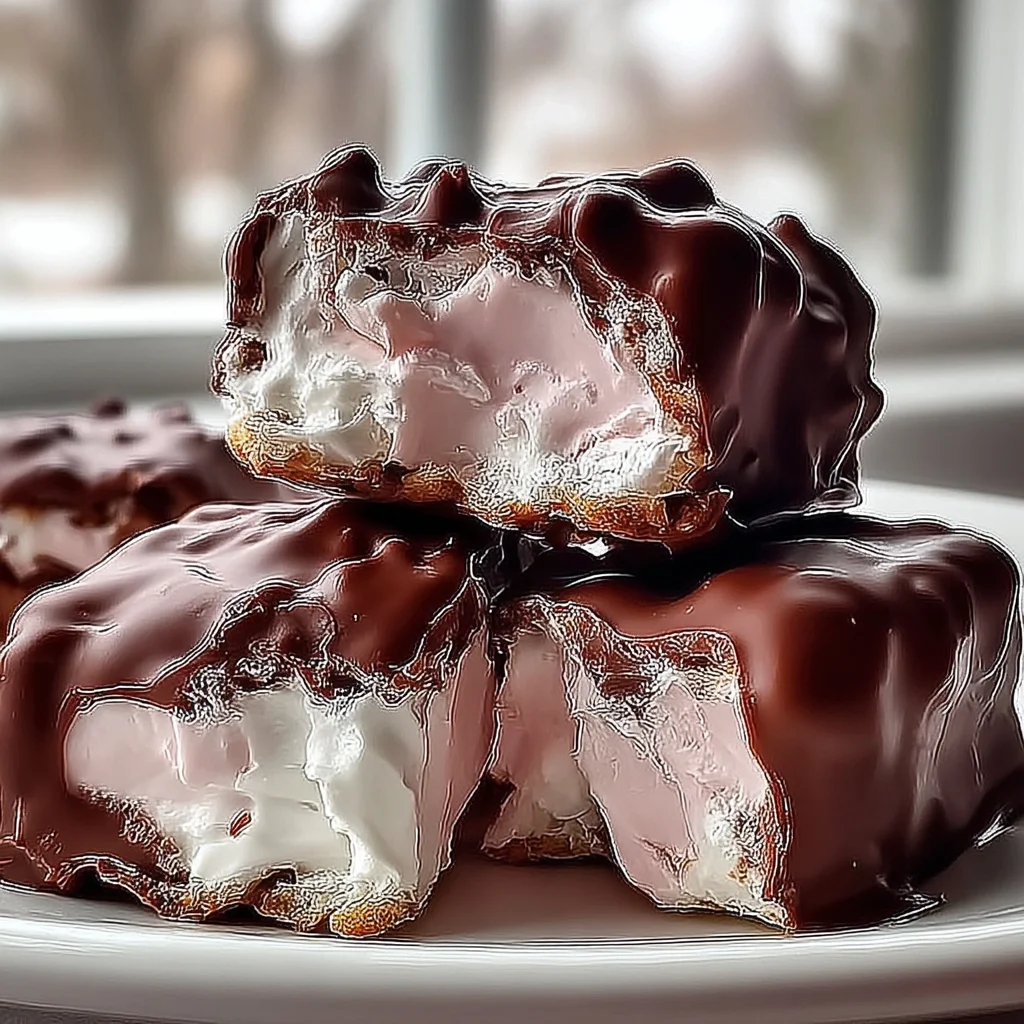
Coating Options: Instead of powdered sugar, try coating the candies in shredded coconut, finely crushed graham crackers, or drizzle them with melted chocolate after chilling for a dipped candy look.
Consistency Check: If the dough is sticky or too soft, the finished product will not hold its shape. Always add more powdered sugar if the dough feels too wet.